
How to Set Up Your Own Cloud Using Hardware You Already Own
Cloud storage has become the default way to store files, photos, backups, and business data. But for many users, there’s an increasing concern around privacy, recurring subscription costs, and relying entirely on third-party infrastructure.
That’s where personal cloud platforms like MyFlopy come in.
Instead of uploading your data to someone else’s servers, MyFlopy allows you to convert your own hardware into a private cloud storage system. Using a simple installer and a license-based setup process, you can turn an existing device into your own cloud environment while keeping control over where your files are stored.
This guide walks through the currently available installation process based on the official MyFlopy setup flow.
What You Need Before Starting
Before setting up MyFlopy, you’ll need:
- A device you want to use as your cloud server, such as a personal computer, laptop, or NAS device
- A MyFlopy account
- Internet connection for activation
- A supported Linux system (Debian/Ubuntu)
At the moment, the installer available in the dashboard supports:
- Linux (.deb installer for Debian/Ubuntu)
(Windows support – Coming Soon)
Step-by-Step Installation Guide
Step 1: Create Your MyFlopy Account
Visit MyFlopy and create your account.
Once logged in, open the MyFlopy console to begin setting up your device.
Step 2: Add Your Device
Inside the dashboard, select Add Device.
This device will become the hardware that powers your personal cloud storage system. Once the device is created, MyFlopy displays the available installation methods for your chosen platform.
Step 3: Choose Your Installation Method
MyFlopy provides installation options based on the operating system you plan to use.
At the time of writing, Linux (Debian/Ubuntu) installation is available through a package installer, while Windows and macOS support are listed as coming soon.
Select the installation method that matches your hardware before proceeding with setup.
Step 4: Download the Linux Installer
Under Install via Package Installer, download the Linux package installer.
The currently available installer supports:
- Debian
- Ubuntu
The setup page describes this process as:
Download, install, and enter your license key – fastest way to get started.
Step 5: Copy Your License Key
The setup dashboard displays a dedicated license key associated with your device.
You’ll need this key during the Linux installation process, so copy and save it before proceeding.
The dashboard notes:
You’ll need this during installer setup.
Step 6: Run the Installer and Activate Your Device
Open the downloaded installer package on your Linux system and begin the installation process.
During setup, you’ll be prompted to enter the license key from the MyFlopy dashboard.
The installer also notes:
An internet connection is required to activate.
Paste the license key when prompted and complete the installation.
Step 7: Verify the Connection
Once activation is complete, the device connects to your MyFlopy dashboard.
According to the setup instructions shown in the console:
- Download the installer
- Install it
- Enter your license key during setup
- Your device appears online in the dashboard
After the device appears online, your hardware is successfully connected and ready to be used with MyFlopy.
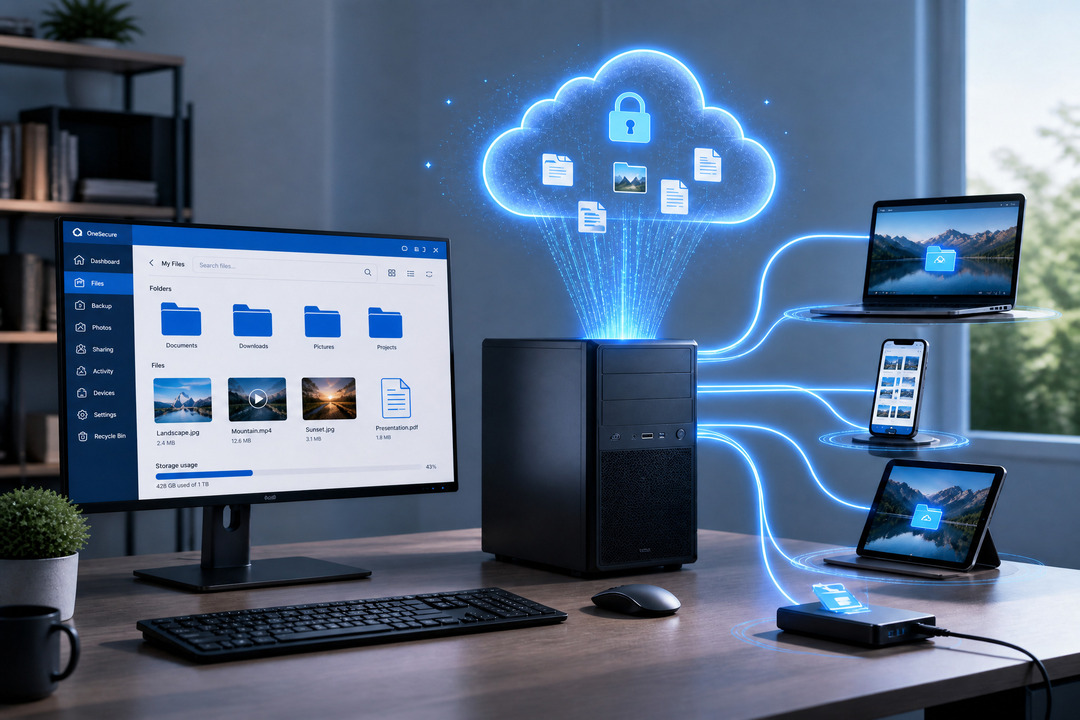
What Makes This Different from Traditional Cloud Storage?
Traditional cloud storage platforms typically rely on external infrastructure managed by third-party providers.
With MyFlopy, the focus is different:
- Your hardware acts as the storage system
- Device activation happens through your MyFlopy account
- The setup is managed through a central dashboard and installer flow
This gives users more direct control over the systems handling their storage environment.
Who Can Use This Setup?
A personal cloud setup like this may be useful for:
- Individuals wanting more control over file storage
- Families managing photos and backups locally
- Small businesses exploring self-hosted storage options
- Teams looking to use existing hardware more effectively
Because the setup uses your own machine, it can also help reuse older systems that still have usable storage capacity.
Final Thoughts
Setting up your own cloud infrastructure traditionally required advanced networking knowledge, manual server configuration, and complicated deployment steps.
The current MyFlopy installation flow simplifies that process into a guided setup:
- Create a device
- Download the installer
- Enter the license key
- And connect the system to the dashboard
If you already have spare hardware available, platforms like MyFlopy make it possible to explore personal cloud storage without building everything from scratch.
FAQs
1. Can I create my own cloud storage using an old computer?
Yes. MyFlopy allows you to turn an existing computer, laptop, or compatible storage device into a personal cloud storage system, helping you make use of hardware you already own.
2. Do I need technical expertise to set up a private cloud with MyFlopy?
No. MyFlopy is designed to simplify the setup process through a guided installer, device activation, and dashboard-based management, reducing the complexity traditionally associated with self-hosted cloud storage.
3. What operating systems are currently supported by MyFlopy?
At present, MyFlopy offers a Linux package installer for Debian and Ubuntu systems. Support for Windows and other platforms is expected in future releases.
4. How is MyFlopy different from traditional cloud storage services?
Traditional cloud storage providers store data on their own infrastructure. With MyFlopy, your storage environment runs on hardware you control, allowing you to build a private cloud storage setup using your own device.
5. Can businesses use MyFlopy for file storage and backups?
Yes. Small businesses and teams can use MyFlopy to create a self-hosted cloud storage environment for files, backups, and shared data while utilizing existing hardware resources.